AI SEO Article Writer for WordPress: Setup and Integration
Set up an AI SEO article writer for WordPress in minutes. Follow this step-by-step guide to automate publishing, internal links, and metadata.

Setting up an AI SEO article writer for WordPress transforms content production from a manual bottleneck into an automated pipeline that publishes optimized posts while you focus on strategy. This guide walks you through the exact steps to connect an AI content automation system to your WordPress site, configure publishing rules, map internal links, and push live articles without touching the editor.
Why Use an AI SEO Article Writer for WordPress?
An AI SEO article writer for WordPress eliminates the repetitive steps between research and publication, reducing the time from keyword discovery to a live, indexed post from days to minutes. Instead of drafting in Google Docs, pasting into WordPress, manually adding meta tags, hunting for internal link targets, and formatting images, automation handles the entire workflow through API-based publishing that writes directly to your database with all metadata, schema markup, and internal anchors already in place.
For small businesses and startups running lean content teams, this approach scales production without hiring writers, and every article is structured for discoverability by both Google crawlers and AI answer engines like ChatGPT, which increasingly cite sources that follow schema.org standards and clear entity markup.
What You Need Before Starting
Before connecting your automation platform, confirm your WordPress installation meets three baseline requirements: it runs version 5.0 or later, you have administrator access to install plugins or generate application passwords, and your hosting provider allows REST API requests (most do, but some managed hosts restrict API endpoints for security).
You also need an account with an AI SEO automation platform that supports native WordPress publishing. RankHit handles keyword research, content generation, internal link mapping, and automatic publishing in one workflow, removing the need to stitch together separate tools for research, writing, and deployment.
Required WordPress Permissions
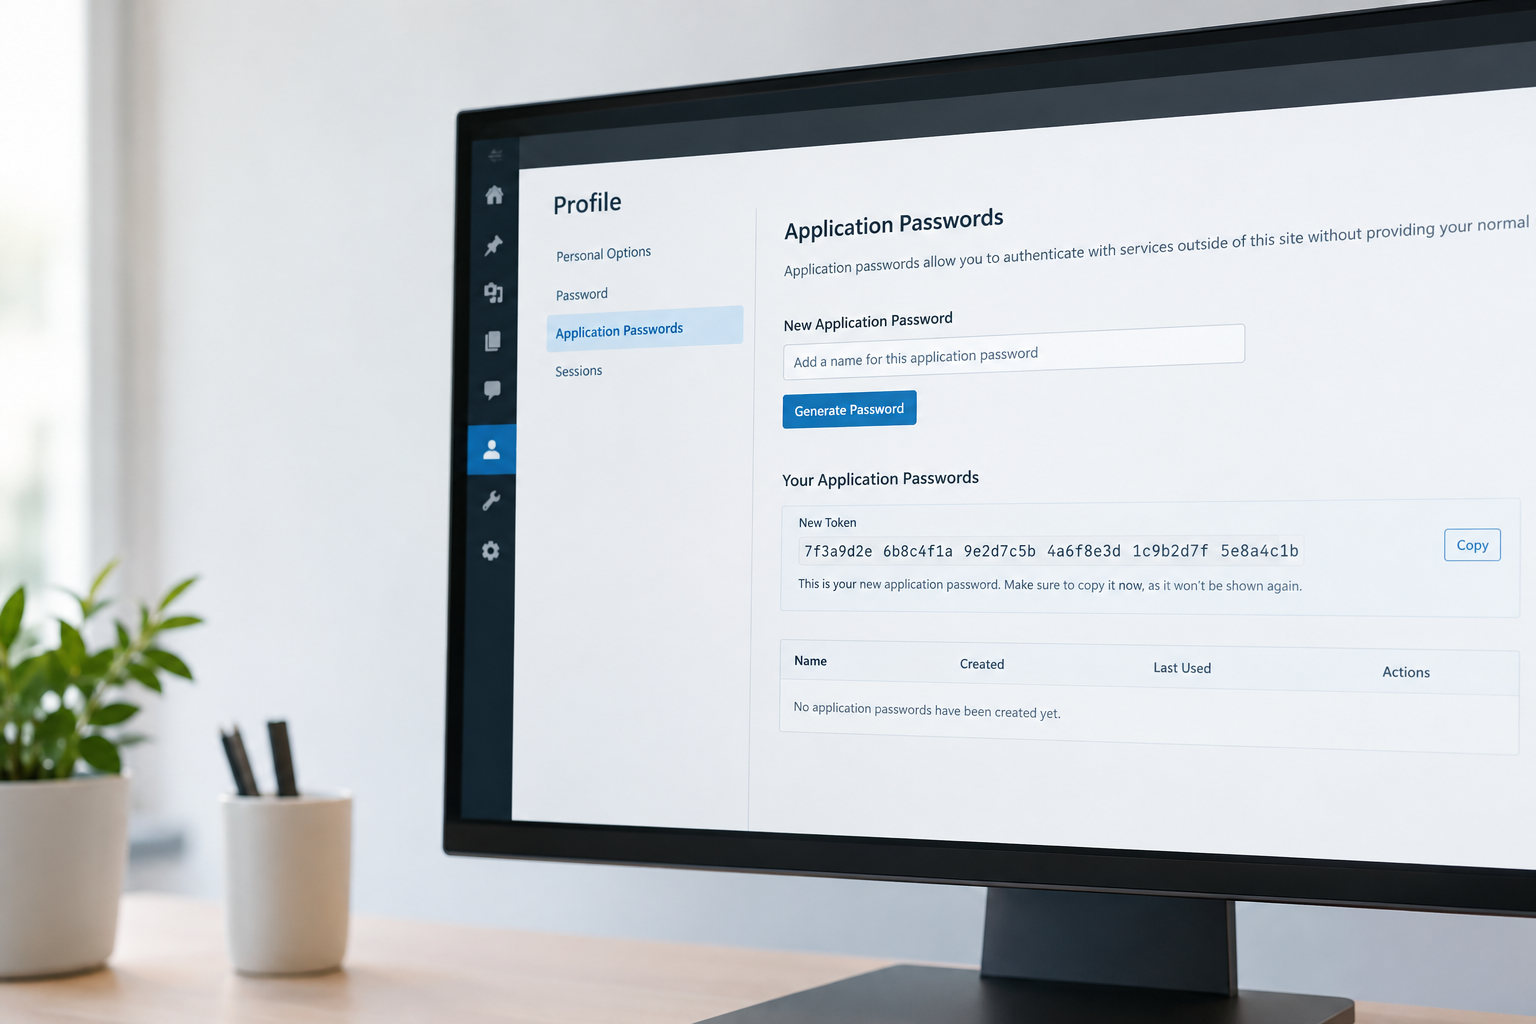
Your WordPress user account must hold the Administrator or Editor role to generate application passwords and grant API access. Navigate to Users, click your profile, scroll to Application Passwords, and create a new token with a descriptive label like 'RankHit Automation' so you can revoke it later if needed without affecting other integrations.
| Requirement | Minimum Spec | Notes |
|---|---|---|
| WordPress Version | 5.0 or higher | REST API enabled by default |
| User Role | Administrator or Editor | Needed to generate application passwords |
| Hosting | API requests allowed | Check with host if unsure |
| SSL Certificate | Valid HTTPS | Required for secure API authentication |
Step 1: Generate WordPress Application Password
Log into your WordPress admin dashboard, click Users in the left sidebar, then select your profile. Scroll down to the Application Passwords section, enter a descriptive name in the New Application Password Name field, and click Add New Application Password. WordPress displays a 24-character password in groups of four; copy this entire string immediately because it disappears once you leave the page and cannot be retrieved later.
Store this password in a secure location like a password manager. This credential grants the automation platform write access to your posts, pages, and media library, so treat it with the same care as your admin login.
Step 2: Connect Your WordPress Site to the AI Platform
Open your AI SEO automation dashboard and navigate to the integrations or publishing settings page. Enter your WordPress site URL (including https://), your WordPress username, and paste the application password you copied in Step 1. Most platforms test the connection immediately by sending a read-only API request to verify credentials and permissions.
If the connection fails, double-check that your site uses HTTPS, that the REST API is not disabled by a security plugin, and that you pasted the full application password without extra spaces. Some security plugins like Wordfence or iThemes Security block REST API access by default; temporarily whitelist the automation platform's IP range or enable API access for authenticated users in the plugin settings.
How Do I Troubleshoot Connection Errors?
Connection errors typically stem from three sources: incorrect credentials, disabled REST API endpoints, or server firewall rules that block external POST requests. Start by confirming your WordPress username matches the account that generated the application password (usernames are case-sensitive), then log into WordPress and navigate to Tools, Site Health, Info, REST API to verify the endpoint is reachable. If Site Health shows errors, check your security plugin settings or contact your hosting provider to confirm REST API access is enabled for authenticated requests.
Step 3: Configure Publishing Settings
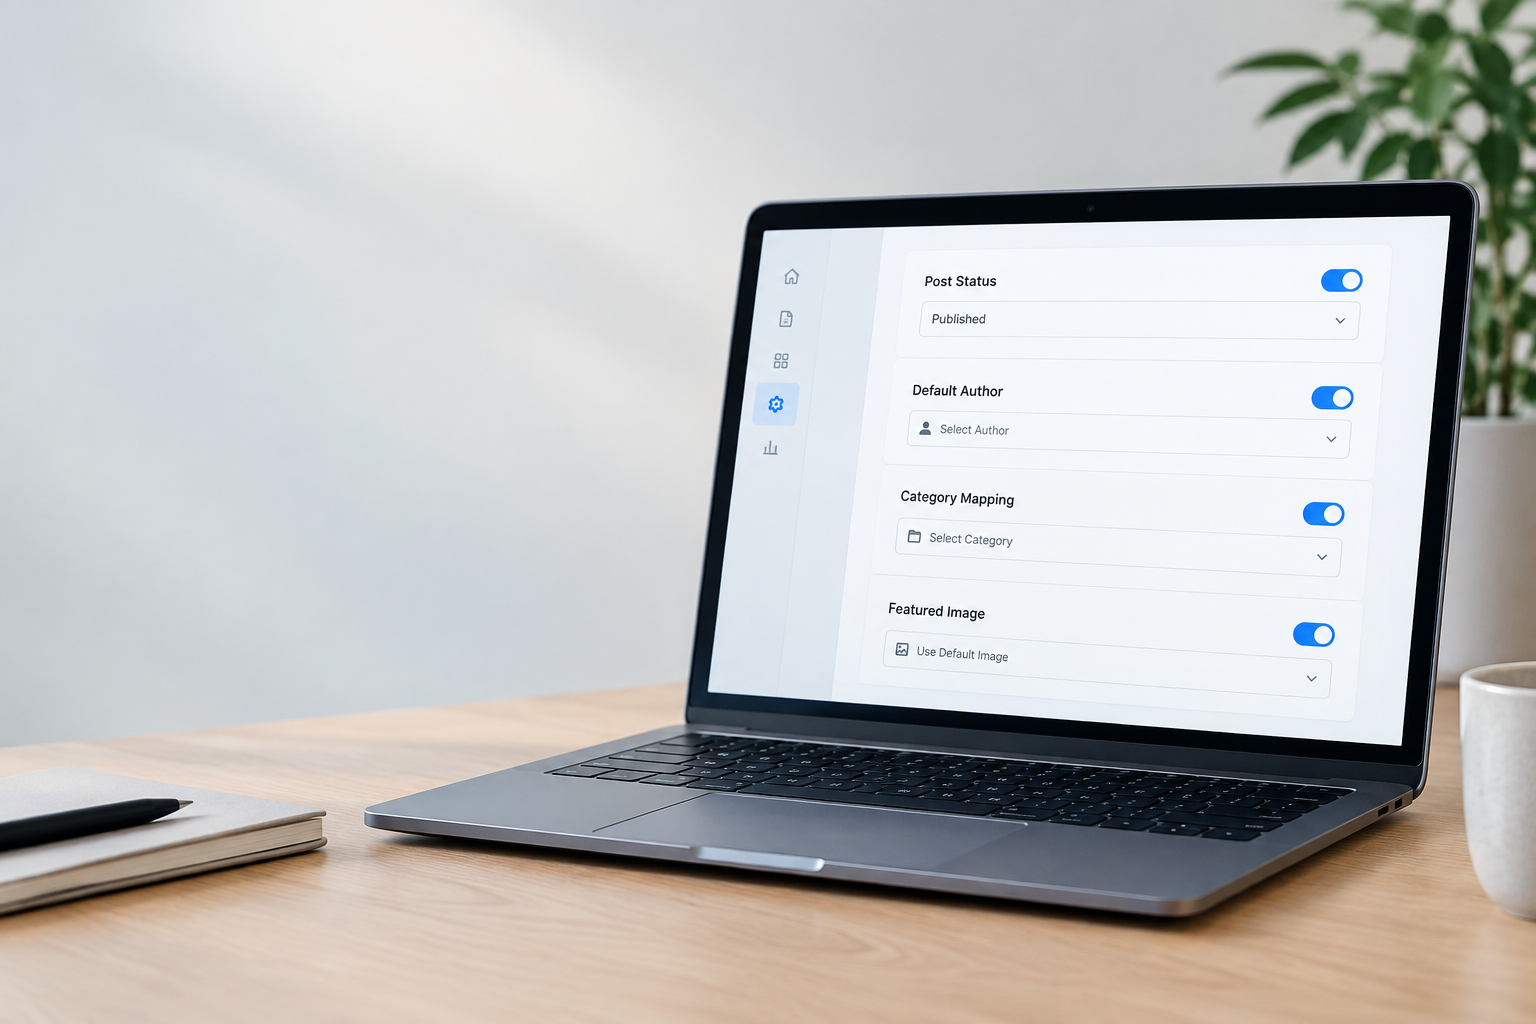
Publishing settings control how drafts move from the AI writer to your live site, including post status (draft, pending, or publish), default author, category assignment, and featured image behavior. Set the post status to 'draft' during initial testing so you can review articles before they go live, then switch to 'publish' once you trust the output quality and formatting.
Choose a default author that matches your brand voice; if you run a personal blog, use your own name, but if you represent an agency or business, create a dedicated 'Editorial Team' user to maintain consistency across automated posts. Category and tag mapping should align with your existing taxonomy so new articles slot into the correct content clusters and topical silos without manual sorting.
Step 4: Map Internal Link Targets
Internal link mapping tells the AI writer which pages and posts exist on your site so it can insert contextually relevant anchors automatically, building topical authority without manual link audits. Upload a sitemap XML file or let the platform crawl your site to discover all published URLs, then tag high-value pages (product pages, pillar posts, lead magnets) as priority link targets so they receive more anchor placements.
RankHit's automation scans your existing content to identify semantic relationships between posts, then inserts 4 to 6 internal links per article that point to related topics, cornerstone content, and conversion pages. This approach distributes PageRank more effectively than random linking and signals to Google that your site covers topics in depth rather than publishing isolated posts.
Should I Manually Review Internal Links Before Publishing?
Manual review is useful during the first few articles to confirm the AI selects relevant anchors and avoids over-optimization, but once you verify link quality, automated insertion saves hours per post without sacrificing relevance. If a platform consistently misplaces links or chooses weak anchors, adjust your priority tagging or exclude low-value URLs from the link pool rather than reviewing every article individually.
Step 5: Set Up Metadata and Schema Markup
Metadata and schema markup make your content machine-readable, improving how Google displays your pages in search results and how AI systems like ChatGPT cite your articles. Configure the AI writer to auto-generate meta titles, meta descriptions, and Open Graph tags based on the target keyword and article outline, then inject JSON-LD schema for Article, FAQPage, and BreadcrumbList types directly into the post HTML.
Most WordPress SEO plugins (Yoast, Rank Math, All in One SEO) recognize schema added via custom fields or inline JSON-LD, so the automation platform can write schema blocks that your plugin reads without conflict. AI search optimization relies heavily on structured data, making this step critical for visibility in generative engine results.
Step 6: Test with a Single Draft Post
Before automating dozens of posts, publish a single test article to draft status and review every element: headline, body formatting, internal links, featured image, meta tags, and schema markup. Open the post in WordPress's editor to confirm paragraphs break correctly, headings nest logically, and images display with proper alt text and captions.
Check the HTML source or use a schema validator to verify JSON-LD blocks parse without errors, then preview the post on desktop and mobile to catch any styling issues introduced by your theme's CSS. If everything renders correctly, move to Step 7; if not, adjust formatting rules in the automation platform and test again.
Step 7: Automate Keyword Research and Content Queues
Keyword research automation feeds the publishing pipeline so you never run out of topics. Configure the platform to discover long-tail keywords in your niche, prioritize them by search volume and difficulty, then queue articles for automatic generation and publishing on a schedule you define (daily, weekly, or per batch).
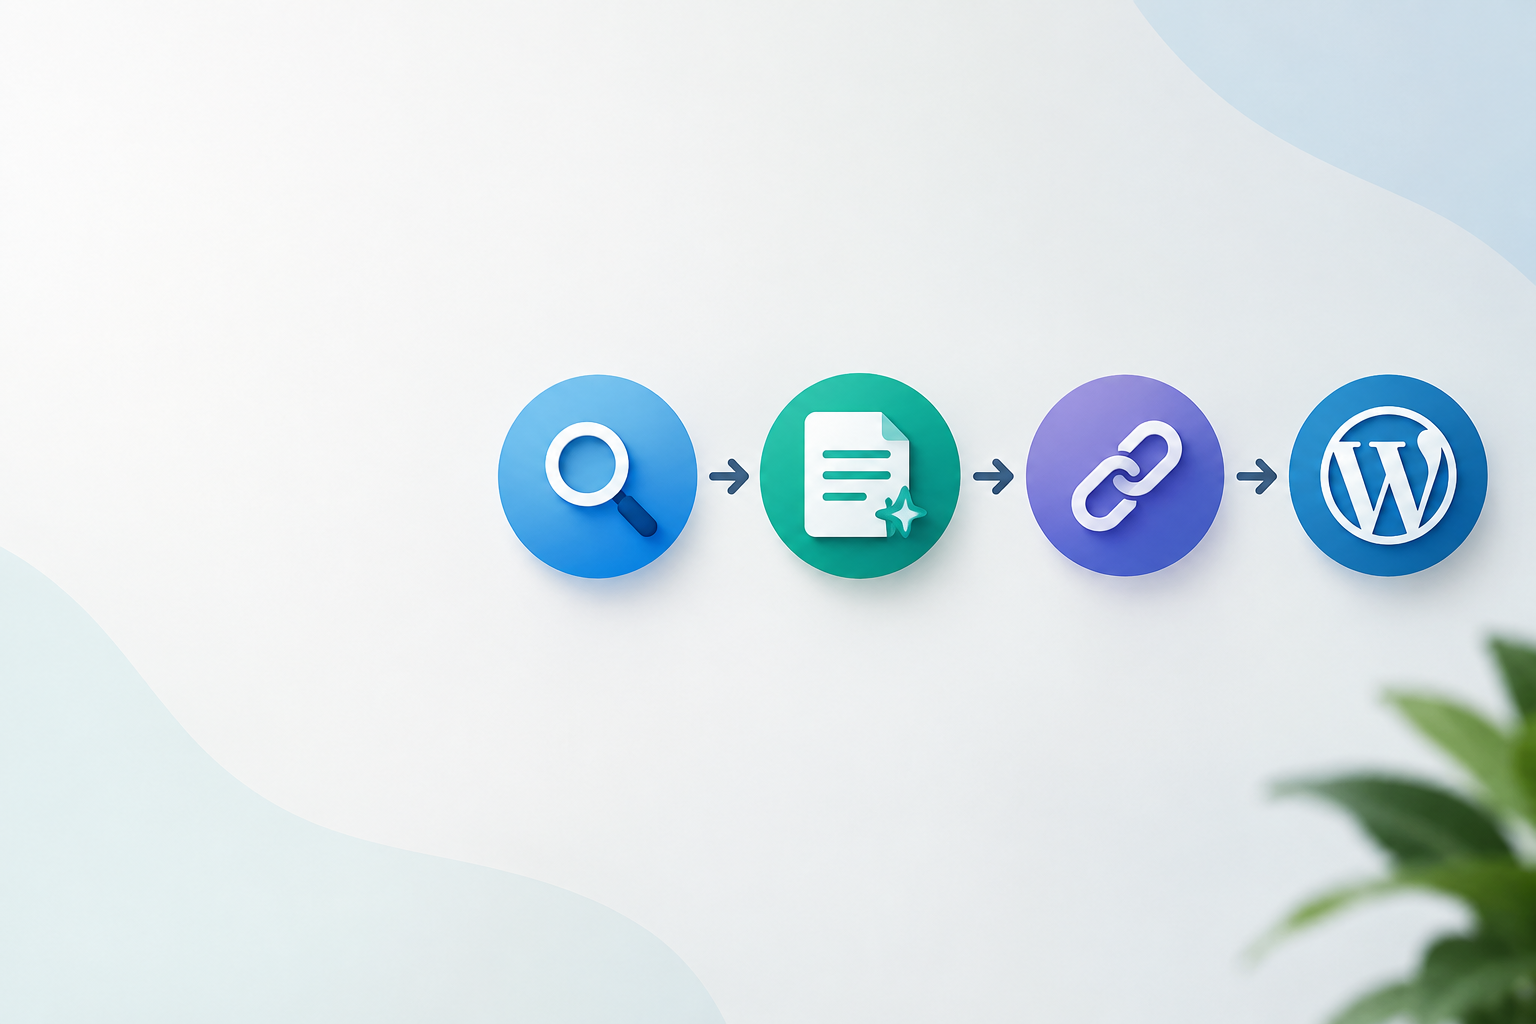
RankHit's workflow integrates research, content creation, and publishing in one loop: it identifies keyword gaps, generates SEO-optimized drafts with internal links and schema, then pushes completed posts to WordPress at the cadence you set. This removes the manual handoff between research tools, writers, and CMS editors, compressing weeks of traditional production into hours of automated execution.
How Often Should Automated Posts Go Live?
Publishing frequency depends on your site's age, existing content volume, and indexing speed, but a safe baseline for new sites is two to three posts per week to avoid triggering quality filters, while established sites with strong domain authority can publish daily without penalty. Monitor Google Search Console for indexing delays or coverage issues; if new posts take longer than 48 hours to index, reduce your cadence temporarily and focus on updating older content to signal freshness.
Common Integration Issues and Fixes
Integration problems usually surface as failed posts, missing images, or broken internal links, and most trace back to permission mismatches or plugin conflicts. If posts fail to publish, verify the application password is still active in WordPress (revoked tokens throw 401 errors), confirm your user role has not changed, and check that your hosting account has not hit storage or database limits.
Missing images typically result from media library permission restrictions or file size limits imposed by your host. Increase the upload_max_filesize and post_max_size directives in php.ini, or ask your host to raise them, then re-upload the failed post. Broken internal links suggest the AI writer is referencing URLs that have been deleted or redirected; refresh your sitemap upload or re-run the site crawl to sync the link target database.
Monitoring and Quality Control
Automated publishing does not mean zero oversight; set up weekly reviews to spot-check published articles for accuracy, tone consistency, and keyword targeting. Use Google Search Console to track impressions and click-through rates for automated posts, comparing performance to manually written content to identify gaps in optimization or user intent alignment.
If certain topics or keyword clusters underperform, flag them for manual rewriting or adjust the AI writer's tone and structure settings to better match search intent. Understanding how automation works behind the scenes helps you tune parameters like keyword density, heading count, and internal link placement for better results over time.
Scaling from Draft Review to Full Automation
Once you trust the output quality, switch from draft-only publishing to full automation by changing the post status setting to 'publish' and enabling scheduled batch releases. Start with a modest cadence (three posts per week), monitor indexing and traffic for four weeks, then increase frequency if performance remains stable and Google continues to index new pages promptly.
Full automation is especially effective for covering long-tail keyword clusters, seasonal topics, and FAQ content that supports product pages or service descriptions. For high-stakes content like cornerstone guides or conversion-focused landing pages, keep manual review in the workflow to ensure brand voice and strategic messaging remain intact.
Can I Mix Automated and Manual Content?
Mixing automated and manual content is the ideal approach for most businesses, with automation handling high-volume, informational posts (how-to guides, glossary entries, comparison articles) while human writers focus on storytelling, case studies, and thought leadership that require nuance and brand differentiation. Assign different authors or categories to each content type so analytics can track performance separately and inform future allocation of resources.
Frequently Asked Questions
Do I need a premium WordPress theme for AI publishing to work?
No, AI publishing works with any theme that supports the WordPress REST API, which includes virtually all modern free and premium themes. The automation platform writes posts using standard WordPress content structures, so styling comes from your theme's CSS just like manually created posts.
Will automated posts hurt my SEO rankings?
Automated posts do not inherently hurt rankings as long as they provide genuine value, target real search intent, and follow on-page SEO best practices like proper heading hierarchy, keyword usage, and internal linking. Google evaluates content quality, not the method of creation, so well-optimized AI articles can rank just as well as manually written ones.
How do I revoke access if I stop using the automation platform?
Log into WordPress, go to Users, select your profile, scroll to Application Passwords, and click Revoke next to the token you created for the automation platform. This immediately blocks all API requests using that password without affecting your primary login or other integrations.
Can I edit automated posts after they publish?
Yes, automated posts are standard WordPress entries that you can edit, update, or delete at any time through the WordPress editor. Changes you make manually persist and are not overwritten by the automation platform unless you explicitly re-generate the same post.
What happens if my hosting goes down during a scheduled publish?
Most automation platforms retry failed publishes automatically after a delay, typically between 15 minutes and one hour, so temporary hosting downtime will not result in lost posts. If the retry also fails, the post remains in the platform's queue and you receive a notification to troubleshoot the connection.
Setting up an AI SEO article writer for WordPress shifts content production from a manual, time-intensive process to a repeatable, scalable system that generates optimized posts around the clock. By connecting an automation platform to your WordPress site, mapping internal links, configuring metadata, and monitoring output quality, you build a publishing engine that compounds SEO gains month after month without proportional increases in labor or cost. Start with draft review, validate quality over a few weeks, then scale to full automation and reallocate your team's time from production to strategy, link building, and conversion optimization.

RankHit
RankHit official
RankHit researches keywords, writes SEO articles, and publishes them on autopilot so brands can rank on Google and get cited by ChatGPT.