How to Publish SEO Articles Automatically: Complete Setup
Set up automatic SEO article publishing with this complete guide, from CMS integration and scheduling to quality checks and error handling.

Automatic SEO article publishing removes the repetitive manual work of content deployment, letting you focus on strategy while your CMS handles the execution. This complete setup guide walks through every step, from connecting your content management system and configuring scheduling rules to implementing quality checks and error handling that keep your publishing pipeline reliable.
What Does Automatic SEO Article Publishing Actually Mean?
Automatic SEO article publishing is a workflow where content moves from creation to live publication without manual intervention at each step. The system handles CMS authentication, formatting, metadata insertion, internal linking, image placement, and scheduled release, triggered either by calendar rules or content approval status.
This differs from one-click publishing tools that still require you to review and approve every article individually. True automation integrates quality gates and conditional logic so articles that pass your predefined criteria go live without waiting for manual review, while those that need attention are flagged for human oversight.
Why Automate Publishing Instead of Using Manual Workflows?
Manual publishing creates bottlenecks that slow content velocity, especially when you need to deploy dozens of articles per month to build topical authority. Each manual step (logging in, pasting content, formatting, adding meta tags, setting featured images, scheduling) adds minutes that compound across a content calendar.
Automation also reduces human error. Forgotten alt text, inconsistent permalink structures, missing canonical tags, and scheduling mistakes happen less frequently when a script enforces the same checklist every time. For agencies managing multiple client sites or businesses scaling content operations, automation turns publishing from a recurring task into a supervised process you monitor rather than execute.
Which CMS Platforms Support Automatic Publishing?
Most modern content management systems expose a REST API or XML-RPC endpoint that lets external tools create and publish posts programmatically. WordPress remains the most widely supported, with robust APIs for posts, pages, media uploads, categories, and custom fields.
Headless CMS platforms like Contentful, Strapi, and Sanity are built API-first, so they integrate easily with automation tools. Webflow offers a CMS API for collection items, and Shopify supports blog post creation via its Admin API. Custom or enterprise CMS platforms typically require webhook configuration or middleware to bridge the gap between your content source and the publishing endpoint.
| CMS Platform | API Type | Authentication Method | Best Use Case |
|---|---|---|---|
| WordPress | REST API | Application Password or JWT | Blogs, local business sites, small to mid-size publishers |
| Webflow | CMS API | OAuth 2.0 or API token | Design-first sites, agencies, startups |
| Contentful | Content Management API | Personal access token | Headless architectures, multi-channel publishing |
| Shopify | Admin API | OAuth or private app credentials | E-commerce content, product SEO |
Step 1: Connect Your CMS and Obtain API Credentials
Start by generating API credentials in your CMS, which typically means creating an application password, API token, or OAuth app depending on the platform. For WordPress, navigate to your user profile, scroll to Application Passwords, enter a label like "Auto Publisher," and copy the generated password immediately since it will not be shown again.
Store these credentials in a secure environment variable manager or secrets vault, never hard-coded in scripts or stored in plain text files. Test the connection by sending a simple GET request to your CMS API endpoint to verify authentication works before moving forward with publishing logic.
How Do You Securely Store API Keys for Publishing?
Use environment variables on your server or automation platform, paired with restricted file permissions that prevent unauthorized access. Most automation tools like Zapier, Make, and n8n offer encrypted credential storage built into their platform, while custom scripts should pull credentials from tools like AWS Secrets Manager, HashiCorp Vault, or .env files that are excluded from version control.
Rotate API keys quarterly and immediately revoke any credential that has been exposed in logs, shared in chat, or stored insecurely. Set up monitoring alerts so you are notified of failed authentication attempts, which can signal a compromised key or misconfigured integration.
Step 2: Prepare Your Content for Automated Formatting
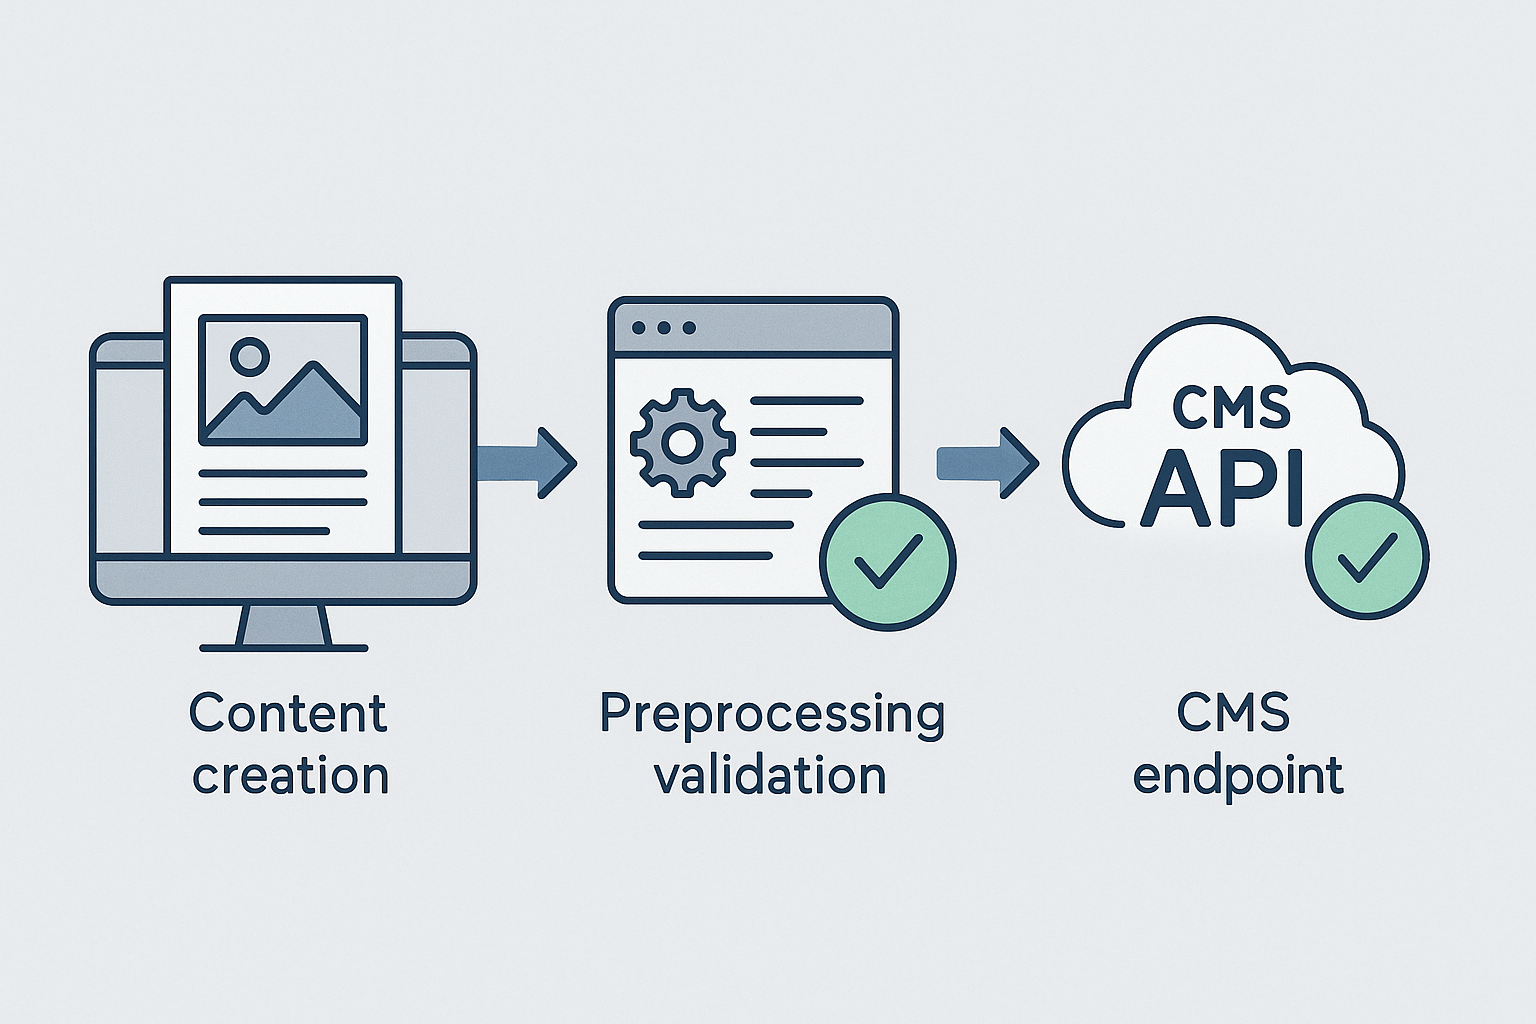
Content needs to arrive in a consistent, machine-readable structure before automation can format it for your CMS. If you use an AI SEO automation platform, ensure articles are output with semantic HTML tags, proper heading hierarchy, and metadata fields like title, meta description, slug, and focus keyword already populated.
For articles created outside an automated system, normalize the format by running them through a preprocessing script that wraps paragraphs in paragraph tags, converts Markdown to HTML if needed, strips unsupported styling, and validates that headings follow a logical H2-H3-H4 structure without skipping levels.
What Content Fields Should Your Automation Template Include?
At minimum, your template must include post title, body HTML, slug, meta description, target keyword, publish date, author ID, category or tag assignments, and featured image URL. Optional but valuable fields are custom excerpt, canonical URL if different from the post permalink, noindex flag for content you do not want indexed yet, and any custom field values your theme or plugins require.
Build a standardized JSON or CSV schema so every article exports with the same field names and data types. This prevents the automation from breaking when a field is missing or formatted unexpectedly, and makes it easier to add quality checks that validate field values before publishing.
Step 3: Configure Scheduling Rules and Publishing Frequency
Decide whether articles publish immediately upon approval, on a fixed schedule like every Tuesday and Thursday at 9 AM, or dynamically spaced based on how many articles are queued. Fixed schedules work well for consistency and audience expectation, while dynamic spacing prevents publishing clusters that can dilute topical relevance signals.
Set publish times that align with your audience's peak engagement hours in your target region. For a U.S. audience, mornings between 8 and 10 AM Eastern often see higher initial traffic, giving new posts a better chance to gain early social shares and backlinks that reinforce ranking signals.
Should You Publish All Articles at Once or Stagger Them?
Staggering publication is almost always better for SEO and user experience. Publishing a dozen articles simultaneously can signal to search engines that content was bulk-generated rather than editorially curated, and it overwhelms your RSS feed and social channels with repetitive updates.
Aim for one to three articles per week if your site is new or has limited domain authority, scaling up to daily publishing once you have established topical clusters and consistent traffic. Topical authority strategies benefit from releasing related articles in sequence over weeks, not all at once, so each new piece can internally link to and amplify the ones published before it.
Step 4: Automate Internal Linking During Publishing
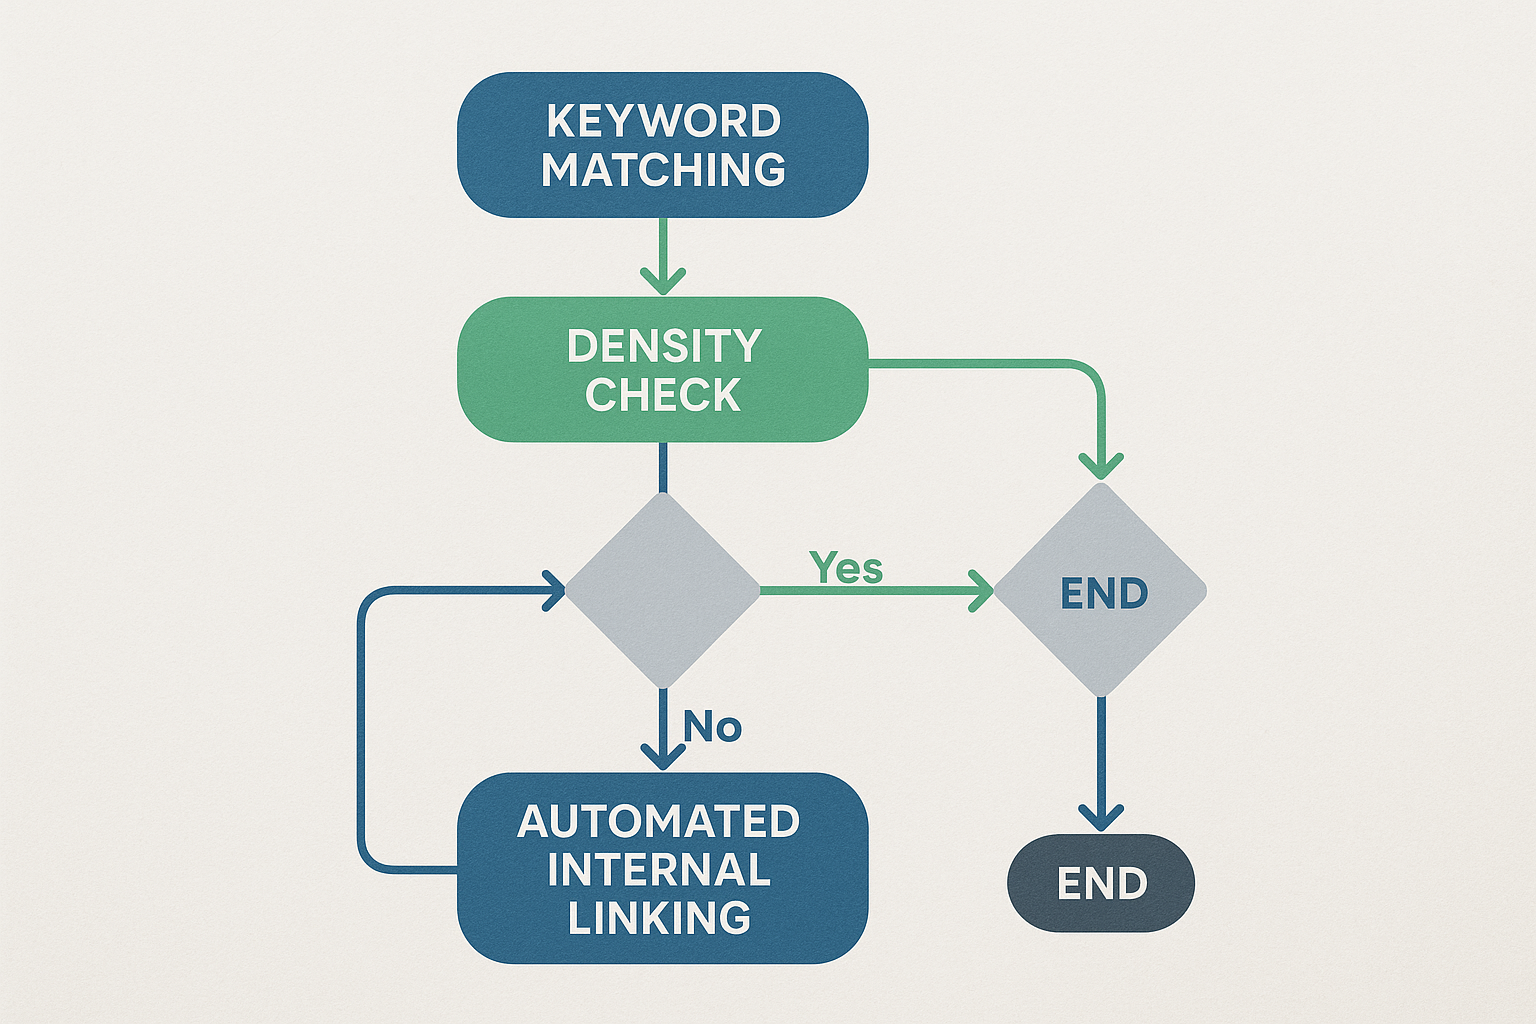
Internal links should be inserted programmatically based on keyword and topic relevance, not manually added after the fact. Scan the article body for anchor phrases that match target keywords or related terms from your existing content library, then inject contextual links to the most relevant published posts.
Set rules to limit internal links to a reasonable density, such as one link per 150 to 200 words, and avoid linking the same anchor text multiple times in a single article. Prioritize linking to cornerstone content and topical cluster hubs to reinforce your site architecture, and exclude linking to pages with noindex tags or thin content.
How Do You Prevent Broken Internal Links in Automated Publishing?
Maintain a live index of all published post URLs, titles, and target keywords in a database or JSON file that your automation queries before inserting links. Before each link is injected, verify the target URL returns a 200 status code by sending a quick HEAD request, and skip any URL that returns a 404 or redirect.
Run a weekly audit script that crawls your site, checks all internal links, and flags any broken ones for repair. This catches cases where a post was unpublished or its slug changed after the link was inserted, and helps you update your internal link index to reflect the current state of your site.
Step 5: Implement Pre-Publishing Quality Checks
Quality checks act as automated gates that block publication if critical issues are detected. Common checks include verifying minimum word count, confirming the target keyword appears in the title and at least one heading, validating that meta descriptions fall within character limits, ensuring at least one internal link is present, and checking that a featured image URL is valid and accessible.
Run these checks immediately before the API call that creates the post, so any flagged article is moved to a review queue rather than published with errors. Log the specific failure reason (for example, "meta description exceeds 160 characters") so you or your content team can quickly fix the issue and resubmit the article.
What Quality Metrics Should Trigger a Manual Review?
Flag articles for manual review if keyword density falls below 0.3% or exceeds 2%, if readability scores indicate overly complex language for your audience, if duplicate content checks show more than 10% overlap with existing posts on your site or competitor sites, or if sentiment analysis detects negative or off-brand language.
You can also set conditional logic based on topic sensitivity. Articles covering regulated industries like healthcare, finance, or legal topics should always route through human review before going live, even if they pass automated checks, to ensure accuracy and compliance.
Step 6: Handle Images and Media Uploads Automatically
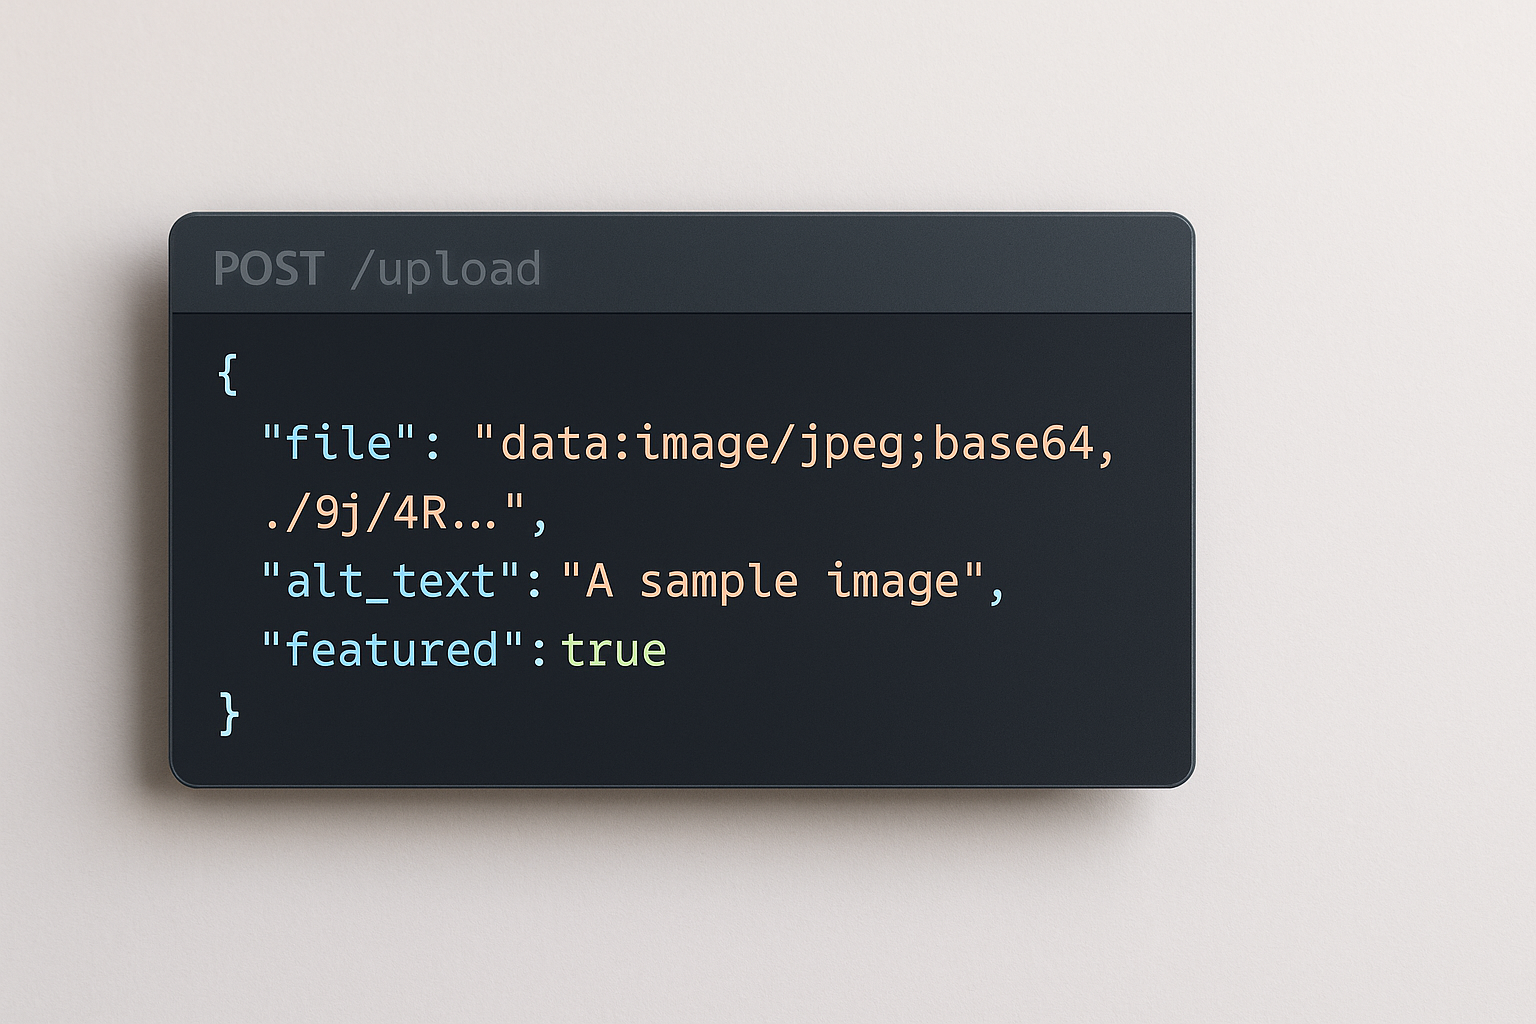
Media automation requires uploading image files to your CMS media library via API, retrieving the new attachment ID or URL, and inserting that reference into the post body or featured image field. If your content workflow generates images separately, store them in a cloud bucket like Amazon S3 or Cloudflare R2, then pass those URLs to your CMS or download and re-upload them during publishing.
Set alt text programmatically by extracting it from the image filename, a metadata field, or an AI vision model that generates descriptive alt text based on image content. Always include alt text to maintain accessibility and provide additional keyword relevance signals to search engines.
How Do You Optimize Image File Sizes Before Automated Upload?
Run images through a compression service or library like TinyPNG, ImageMagick, or Sharp before uploading, targeting file sizes under 150 KB for featured images and under 100 KB for inline images without sacrificing visible quality. Convert images to modern formats like WebP or AVIF when your CMS and target browsers support them, falling back to JPEG for compatibility.
Strip EXIF metadata that is not needed for display, and resize images to match your theme's maximum display dimensions so you are not uploading 4000-pixel-wide files that will only ever render at 800 pixels. These optimizations reduce server storage costs, speed up page load times, and improve Core Web Vitals scores that influence rankings.
Step 7: Set Up Error Handling and Retry Logic
API calls fail for many reasons: network timeouts, rate limits, authentication expiration, server downtime, or malformed requests. Implement retry logic that waits a few seconds after a failed request and tries again, using exponential backoff so the wait time increases with each retry (for example, 2 seconds, then 4, then 8) to avoid hammering an already struggling server.
After three failed attempts, move the article to an error queue and send an alert via email, Slack, or your monitoring dashboard so someone can investigate. Log the full error response, request payload, and timestamp to help diagnose whether the issue is with your automation, the CMS, or network infrastructure.
What Monitoring Tools Help Track Publishing Success Rates?
Application performance monitoring tools like Datadog, New Relic, or open-source alternatives like Grafana track API call success rates, latency, and error types in real time. Set up custom dashboards that show published article count per day, average time from submission to publication, and failure rate by error type so you can spot trends before they become critical issues.
For simpler setups, a Google Sheet or Airtable base updated via webhook after each publish attempt provides a lightweight audit log. Include columns for article title, submission timestamp, publish timestamp, status (success, failed, or pending), and error message, and filter this log weekly to identify patterns worth addressing.
Step 8: Configure Post-Publishing Automation Tasks
After an article goes live, trigger follow-up tasks like submitting the new URL to Google Search Console via the Indexing API, pinging your XML sitemap to search engines, posting a social media update to Twitter or LinkedIn, and sending a notification to your team's Slack channel or project management tool.
You can also automate updating an internal content calendar or CRM so stakeholders see the new article without manual reporting. If you use AI SEO automation tools, the platform may handle some or all of these post-publishing tasks natively, reducing the number of integrations you need to manage separately.
Which Tools and Platforms Support Automated SEO Publishing?
Dedicated AI SEO automation platforms like RankHit integrate content creation, optimization, and publishing in one workflow, with native CMS publishing capabilities that handle formatting, metadata, and scheduling without requiring custom scripts. These platforms are built for users who want end-to-end automation without managing API integrations themselves.
No-code automation tools like Zapier, Make (formerly Integromat), and n8n let you build custom publishing workflows by connecting your content source to your CMS through a visual interface. These work well if you already have a content creation process and just need to automate the publishing step, but they require more configuration and maintenance than all-in-one platforms.
Can You Build Automated Publishing with Custom Code?
Yes, custom scripts using Python, Node.js, or PHP give you complete control over publishing logic, error handling, and integration with your existing tech stack. Libraries like python-wordpress-xmlrpc, wordpress-rest-api-client, or direct HTTP requests to your CMS API let you programmatically create posts, upload media, and assign taxonomies.
Custom code requires more upfront development and ongoing maintenance than using a platform or no-code tool, but it is the best choice for complex workflows, high-volume publishing, or when you need to integrate with proprietary systems. Host your scripts on a server with scheduled cron jobs or serverless functions triggered by webhooks to keep the automation running reliably.
How Do You Scale Automated Publishing to Hundreds of Articles?
Scaling requires rate-limiting your API requests to stay within your CMS provider's limits, typically 60 to 100 requests per minute for WordPress and similar platforms. Batch articles into smaller groups and publish them over hours or days rather than sending hundreds of requests in quick succession, which can trigger API throttling or even temporary bans.
Use a queue system like Redis, RabbitMQ, or a database table to manage pending articles, and have a worker process that pulls from the queue, publishes one article, waits for the configured interval, then pulls the next. This decouples article submission from publishing, so you can add hundreds of articles to the queue without worrying about overwhelming your CMS.
Testing Your Automated Publishing Workflow Before Going Live
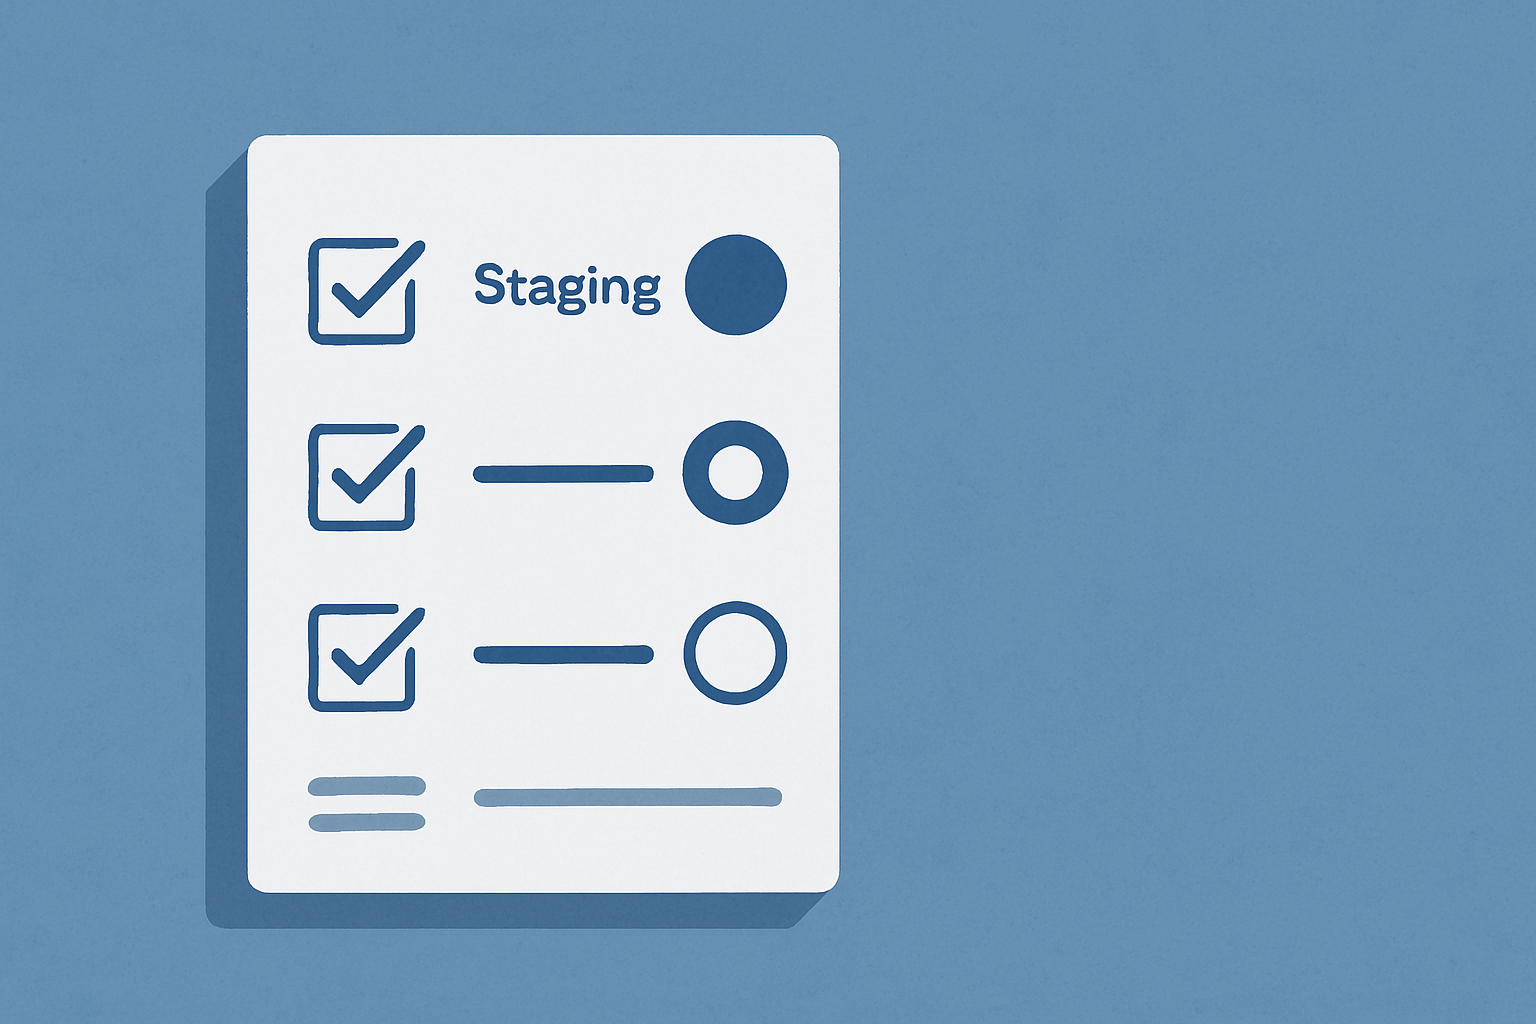
Always test on a staging site or a private post status before publishing to your live site. Send a few test articles through the full workflow, checking that formatting, internal links, images, metadata, and scheduling all work as expected. Review the published output in your CMS editor to catch issues like double-encoded HTML entities, missing line breaks, or broken image references.
Run edge-case tests with articles that have no featured image, very short or very long body text, special characters in the title, or empty optional fields, since these are the scenarios most likely to break an automation that only tested happy-path examples. Fix any issues you find, then run the tests again until every article publishes correctly.
Common Pitfalls When Automating SEO Article Publishing
Skipping quality checks leads to low-value content going live with missing metadata, broken links, or poor readability. Over-reliance on automation without human oversight risks publishing factually incorrect information or off-brand messaging that harms your reputation.
Publishing too fast without proper spacing signals to search engines that content is being generated in bulk rather than editorially curated, which can reduce trust and ranking potential. Ignoring error logs and retry failures causes articles to silently drop from the queue, leading to gaps in your content calendar you do not discover until weeks later.
How Do You Balance Automation Speed with Content Quality?
Implement quality gates that block publication of articles below your standards, even if that slows the workflow. Use automated scoring for readability, keyword optimization, and structural completeness, and set thresholds where anything scoring below a certain level goes to human review rather than auto-publishing.
Schedule regular audits where a human editor spot-checks published articles to verify the automation is maintaining quality. If patterns emerge (such as weak introductions, repetitive phrasing, or missing examples), refine your content generation process or add new quality checks to catch those issues before publishing.
Measuring the ROI of Automated SEO Publishing
Track time saved by comparing how long manual publishing took before automation versus how long oversight and error correction take now. Multiply hours saved per week by your team's hourly cost to calculate direct labor savings, which for many teams recovering 10 to 20 hours per week translates to thousands of dollars per month.
Measure content velocity as articles published per month before and after automation, and correlate that increase with organic traffic growth, keyword rankings, and conversions. Tools like the SEO revenue calculator help estimate the revenue impact of publishing more content consistently, making it easier to justify automation investment to stakeholders.
Frequently Asked Questions About Automated SEO Publishing
How long does it take to set up automated SEO article publishing?
Initial setup typically takes one to three days if you use a platform with native publishing features, or one to two weeks if you build custom integrations and quality checks from scratch. Testing and refinement add another few days, so plan for two weeks total before you trust the automation to run unsupervised.
Can automated publishing hurt your SEO if done incorrectly?
Yes, publishing low-quality content at high volume, creating thin or duplicate articles, or over-optimizing with unnatural keyword density can trigger quality filters and reduce your site's rankings. Automation amplifies both good and bad processes, so ensure your content creation and quality checks are solid before scaling publication.
Do you still need human editors with automated publishing?
Human oversight remains valuable even with automation, shifting from hands-on publishing tasks to strategy, quality auditing, and handling edge cases the automation flags for review. Editors ensure brand voice consistency, fact-check sensitive topics, and refine the automation rules based on what they see in published output.
What happens if your CMS API goes down during scheduled publishing?
Robust automation will retry failed requests after a delay, then move articles to an error queue if retries fail, and send an alert so you can investigate. Once the API is back online, you can manually trigger republishing from the error queue, or the automation can retry automatically at the next scheduled interval.
Is automated publishing suitable for all types of websites?
Automated publishing works best for content-heavy sites like blogs, publishers, e-commerce product guides, SaaS knowledge bases, and agency SEO clients that need consistent output. It is less suitable for highly editorial or creative content that requires deep human curation, or for sites publishing fewer than four articles per month where manual workflows remain efficient.
Automated SEO article publishing transforms content operations from a manual bottleneck into a supervised, scalable system. Start by connecting your CMS securely, then layer in scheduling, quality checks, and error handling so your automation reliably publishes high-quality content. Visit how RankHit works to see native publishing automation in action, or explore the SEO tools library for complementary resources that strengthen your automated workflow.

RankHit
RankHit official
RankHit researches keywords, writes SEO articles, and publishes them on autopilot so brands can rank on Google and get cited by ChatGPT.